
How do contact lenses work?
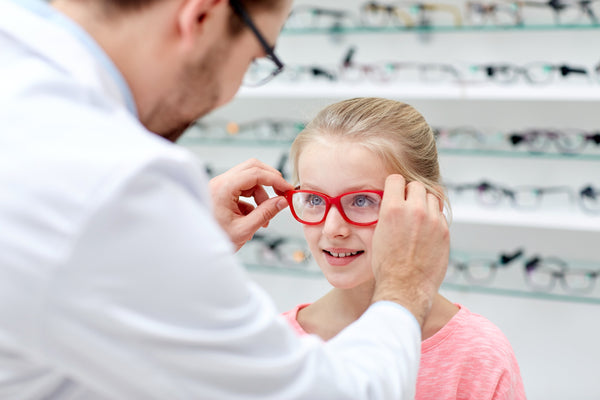
Contact lenses are a popular alternative to traditional glasses. Rather than sitting within frames in front of your eyes, they are placed on the surface of your eye to help you see clearly. If you are a regular contact lens wearer, or if you’re new to contacts and want to know more, read on to learn more about how they work, as well as how replacing your lenses works.
What are contact lenses?
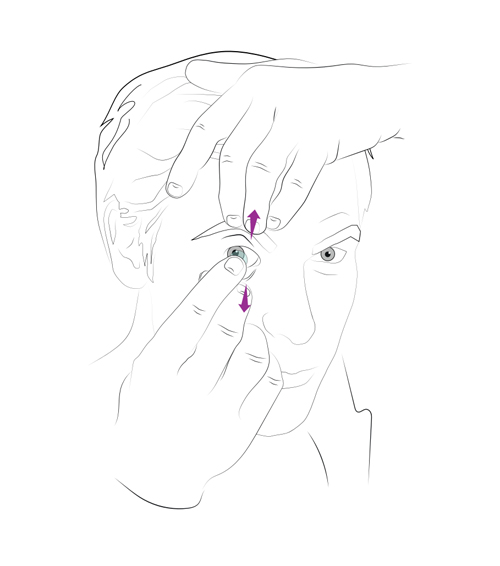
Contact lenses are thin prescription lenses worn in "contact" with the eye. They float on the tear film layer over the cornea and correct refractive errors to help you see more clearly. Most are made of soft, comfortable, and hydrating materials, but some types are made from more rigid materials to correct more complicated prescriptions and eye conditions. In general, contacts nowadays are made from silicone or a material called hydrogel, both are soft and comfortable and a far cry from those made from glass a few decades ago.
How do contact lenses help to correct vision?
In general, contact lenses work in the same way that glasses lenses work – they refocus light into the correct part of your eye to help correct a refractive error in your vision. They just sit on your eyes instead of in front of them.
It’s important to note that your contact lens prescription will be different from your glasses prescription, so it’s important to have an eye test to determine your contact lens prescription.
Contacts can be worn to correct a range of eyesight problems, including:
Myopia (short-sightedness)
Hyperopia (farsightedness)
Presbyopia (age-related farsightedness)
Astigmatism
How do multifocal contact lenses work
Just like with glasses, you can get multifocal contact lenses. They feature multiple powers of vision correction built into the same lens, which you look through depending on the task you’re doing. The areas work the same as a monovision contact lens – refocusing light into your eye correctly. They’re usually offered to those with presbyopia to help with everyday tasks without the need to constantly swap out their glasses.
How do monovision contact lenses work?
Monovision contact lenses provide a balance of distance and near vision for those with presbyopia by providing full distance correction to the 'dominant' eye and closer vision in the 'non-dominant' eye. Our Optometrists are trained to identify your specific ocular dominance when fitting these lenses. This can be a good solution if multifocal lenses cannot be tolerated.
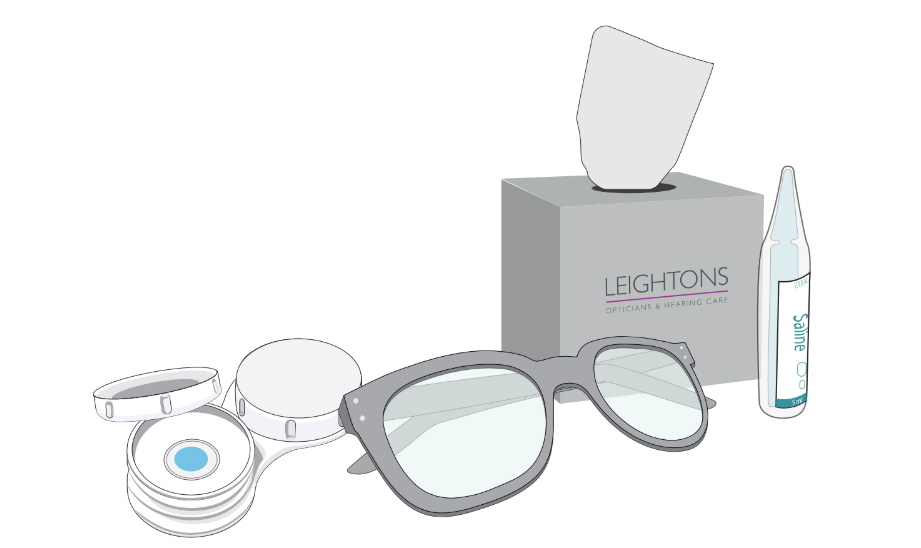
Replacing your contact lenses
There are many different types of contact lenses, and how quickly you replace them will depend on the specific type you wear.
Disposable dailies are designed to be worn for a day and thrown away – they’re very convenient for those with busy lifestyles or if you’re only wearing them occasionally. Monthly lenses are worn repeatedly for a month – you remove and clean them every night – and are replaced after that month. Some other types of lenses are worn for longer periods of time without the need to be removed and cleaned. The type you choose will depend on your lifestyle, prescription strength, and the size and shape of your eye. Your optician will be able to give you advice and guidance on the care of your lenses at your appointment.
For daily and monthly contact lenses, you will usually set up a subscription through your local Leightons branch. We’ll make sure you get a new delivery of contact lenses when you need them
Takeaway
Contact lenses work the same way that traditional glasses do – they refocus light into your eyes to help you see clearly. They can help with a wide range of different eyesight problems, but the specific type you wear will depend on your prescription, eye size and shape, and lifestyle. If you have any concerns about your eyesight or about your contact lenses, you should speak to your opticians or optometrist.
Book your free eye test today to see if you’re eligible for contact lenses.
Learn more