Swimmers ear causes and how to avoid it
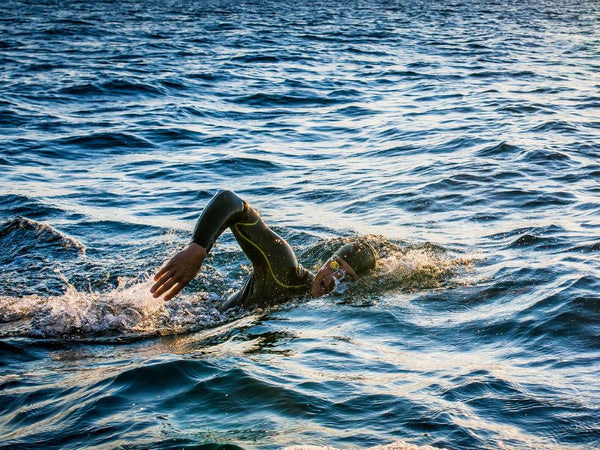
Making a splash this summer?
Whether you are serious about swimming, hitting up the surf or enjoying a casual dip in the pool, don’t let swimmer’s ear ruin your fun. Here at Leightons, we’ve got you covered with everything you need to know about swimmer’s ear and how you can avoid it
What is Swimmer's Ear?
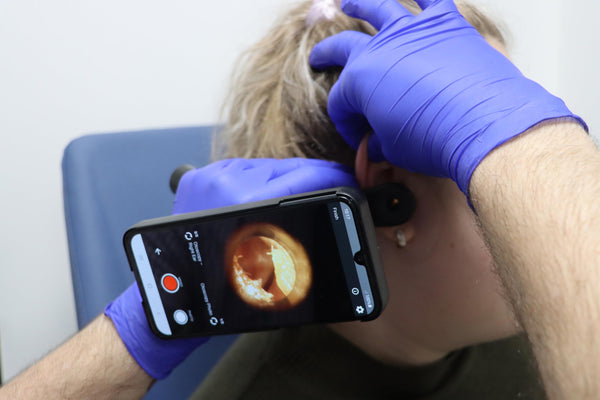
Otitis externa, or as it’s often referred to, swimmer’s ear, is a common condition that will affect around 1 in 10 of us at some point in our lifetime [1]. In simple terms, otitis externa causes the external ear canal to become inflamed which can result in a number of symptoms, including:
Swelling and redness on the outer ear
Pain or discomfort
Temporary hearing loss
Tinnitus
Discharge from the ear
What causes swimmer's ear?
Otitis externa most commonly occurs as a result of bacterial infections caused by water or moisture trapped in the ear.
Water can easily enter our ears, especially when they are submerged. With a little help from gravity, this water will leave the way it came in and our ears will dry up. However, in some cases, this water doesn’t fully exit the ear, creating the perfect environment for bacteria to thrive!
Those who spend lots of time in the water, have narrow ear canals or have a build-up of ear wax are at a higher risk of developing swimmer's ear.
How to Treat Swimmer's Ear
Should you suspect you have swimmer’s ear or a possible ear infection, you should contact your GP immediately. They will be able to prescribe you with the correct course of treatment.
How to Prevent Swimmer's Ear
Prevention is always better than treatment, so here are our top tips for preventing swimmer’s ear:
Avoiding swimming in polluted or untreated water. These environments can harbour bacteria which, if allowed to sit in the ear canal for an extended period, could cause a nasty infection.
Gently dry your ears off with a towel after swimming or bathing to remove any residual water.
Use a swim cap or ear plugs to prevent water from entering the ears.
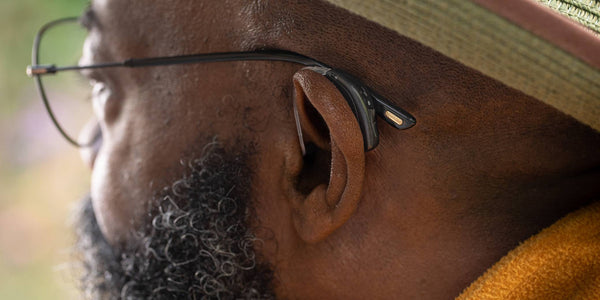
Ear plugs for swimming
Here at Leightons, we offer a fantastic range of hearing protection, including custom-moulded ear plugs for swimming. These are durable, tailor-made ear plugs that stop water and bacteria from entering the ear canal, making them the ear plug of choice for regular swimmers and watersports enthusiasts.
Another type of ear plug for swimming that many people use is silicone ear plugs. These do a good job at keeping the water out. However, they are often only available in a ‘one-size-fits-all’ style, so they aren’t suitable for everyone and don’t offer the comfort or security that custom-moulded swimming ear plugs do.
If you’d like to find out more about custom ear plugs for swimming then why not book a hearing protection consultation today?
Book a hearing protection appointment
Get swim season ready!
So now you know what swimmer’s ear is, how it's caused and, most importantly, how to avoid it, you and your ears can enjoy summer to the full! Remember, if you think you have symptoms of swimmer’s ear, contact your GP for advice and treatment.
Frequent swimmer? If you would like to find out more about your hearing health, you can book a FREE hearing test today. Our friendly and professional audiologists will use the latest technology to complete a range of diagnostic tests, building a detailed profile of your hearing levels.
Book yours today online, or call us on 0800 40 20 20.
book an appointment
[1] https://www.nhsinform.scot/illnesses-and-conditions/ears-nose-and-throat/otitis-externa
Learn more